Test Mode
GiveWP’s Test Mode lets you test the full donation process without moving any real money. It’s a safe way to experience the donation flow just like a donor would—perfect for making sure everything looks and works the way you expect.
This guide walks through how to:
- Turn on GiveWP Test Mode
- Enable test mode for your payment gateway
- Complete a test donation on your form
- Confirm the test donation in your payment gateway
- Check your donor and admin email notifications
- Review the Donor Dashboard pages
Enable Test Mode
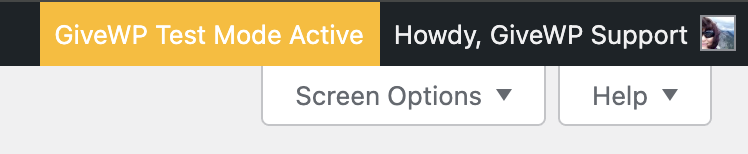
After activating the core GiveWP plugin, Test Mode is turned on by default. You’ll see a yellow banner in the top-right corner of your WordPress admin dashboard that says “GiveWP Test Mode Active.”
If Test Mode is turned off and you need to enable it again, go to GiveWP > Settings > Payment Gateways and enable Enable Test Mode.

View Test Donations in the Dashboard
Once Test Mode is enabled, you can create a donation form and use the Test Donation Gateway to simulate transactions.
To view your test donations:
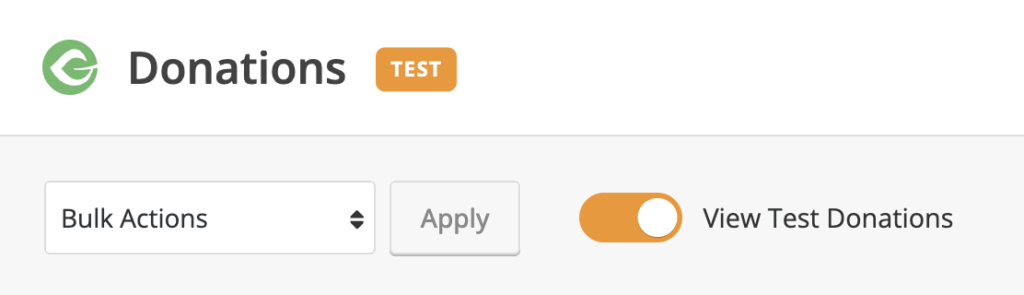
- Go to GiveWP > Donations.
- Use the View Test Donations toggle at the top of the screen.
- Toggle on to see test donations.
- Toggle off to see only live donations
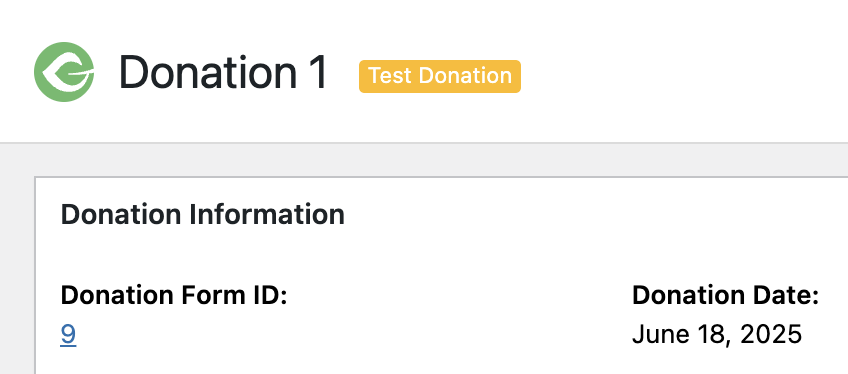
when viewing an individual donation you find a similar yellow label at the top of the page.
Using Test Mode with Your Payment Gateway
With GiveWP Test Mode active, your site is ready to send test data to your payment gateway. The next step is to enable Test Mode within your specific gateway.
Each gateway handles test transactions differently—some use sandbox credentials, others require special endpoints.
Use the links below to find setup instructions for your specific gateway’s test mode.
Making a Test Donation
Once Test Mode is enabled in GiveWP and your gateway is set up for testing, you’re ready to submit a test donation.
For example, to test Stripe:
- Make sure Test Mode is enabled in GiveWP.
- Select Stripe Payment Element as the payment method on your form.
- Enter one of Stripe’s test card numbers, or use the default test card:
4242-4242-4242-4242
with any future expiration date and 3-digit security code (e.g.,123).
Each payment gateway offers its own list of test credit cards, which help you simulate different outcomes. Some cards are designed to trigger a successful payment, while others are meant to cause a declined message or a gateway error.
You can find a list of test credit card numbers for each payment gateway below:
Confirm the Donation in Your Gateway
After completing a test donation, log in to your payment gateway dashboard to confirm that the transaction was received.
Look for key details such as:
- The correct donation amount
- The test donor information
- The status of the transaction (e.g., successful, failed)
Each gateway displays this data a little differently, so refer to your gateway’s documentation if you’re unsure where to look.
Previewing Donation Emails During Testing
When a donation is marked as Completed, GiveWP sends out two key emails:
- A Donation Receipt to the donor
- A Donation Notification to the site admin
During testing, you’ll want to confirm that these emails are triggered and contain the correct information.
Here are a few ways to check:
- Use a real email address for your test donation (like your own) and temporarily allow test emails to be sent.
- Check your site’s email logs using a plugin like WP Mail Logging. This lets you view outgoing emails without needing to receive them. This is especially useful if you are using fictitious email addresses when testing.
Note: Want to change the wording or layout of your donation emails? Go to GiveWP > Settings > Emails to customize the templates for donor receipts, admin notifications, and more.
Preview the Donor Dashboard Experience
Donors can log into your site to view their donation history, access receipts, and manage recurring subscriptions through the Donor Dashboard.
To test this experience, use the User Switching plugin. It allows you to temporarily switch into a donor account and interact with your site just like they would.
Here’s how to use it:
- Go to Plugins > Add New and search for User Switching. Install and activate it.
- Navigate to Users > All Users then search for the donor’s email address.
- Hover over the donor’s name and click Switch To to view the site from their perspective.
- Visit the Donor Dashboard page to review donation history, receipts, and subscription details.

Note: When you’re done testing, click Switch Back in the admin bar under your username to return to your original account.
Removing Test Donations
When you’re ready to clean up test data, you can delete all test transactions from your site in one step.
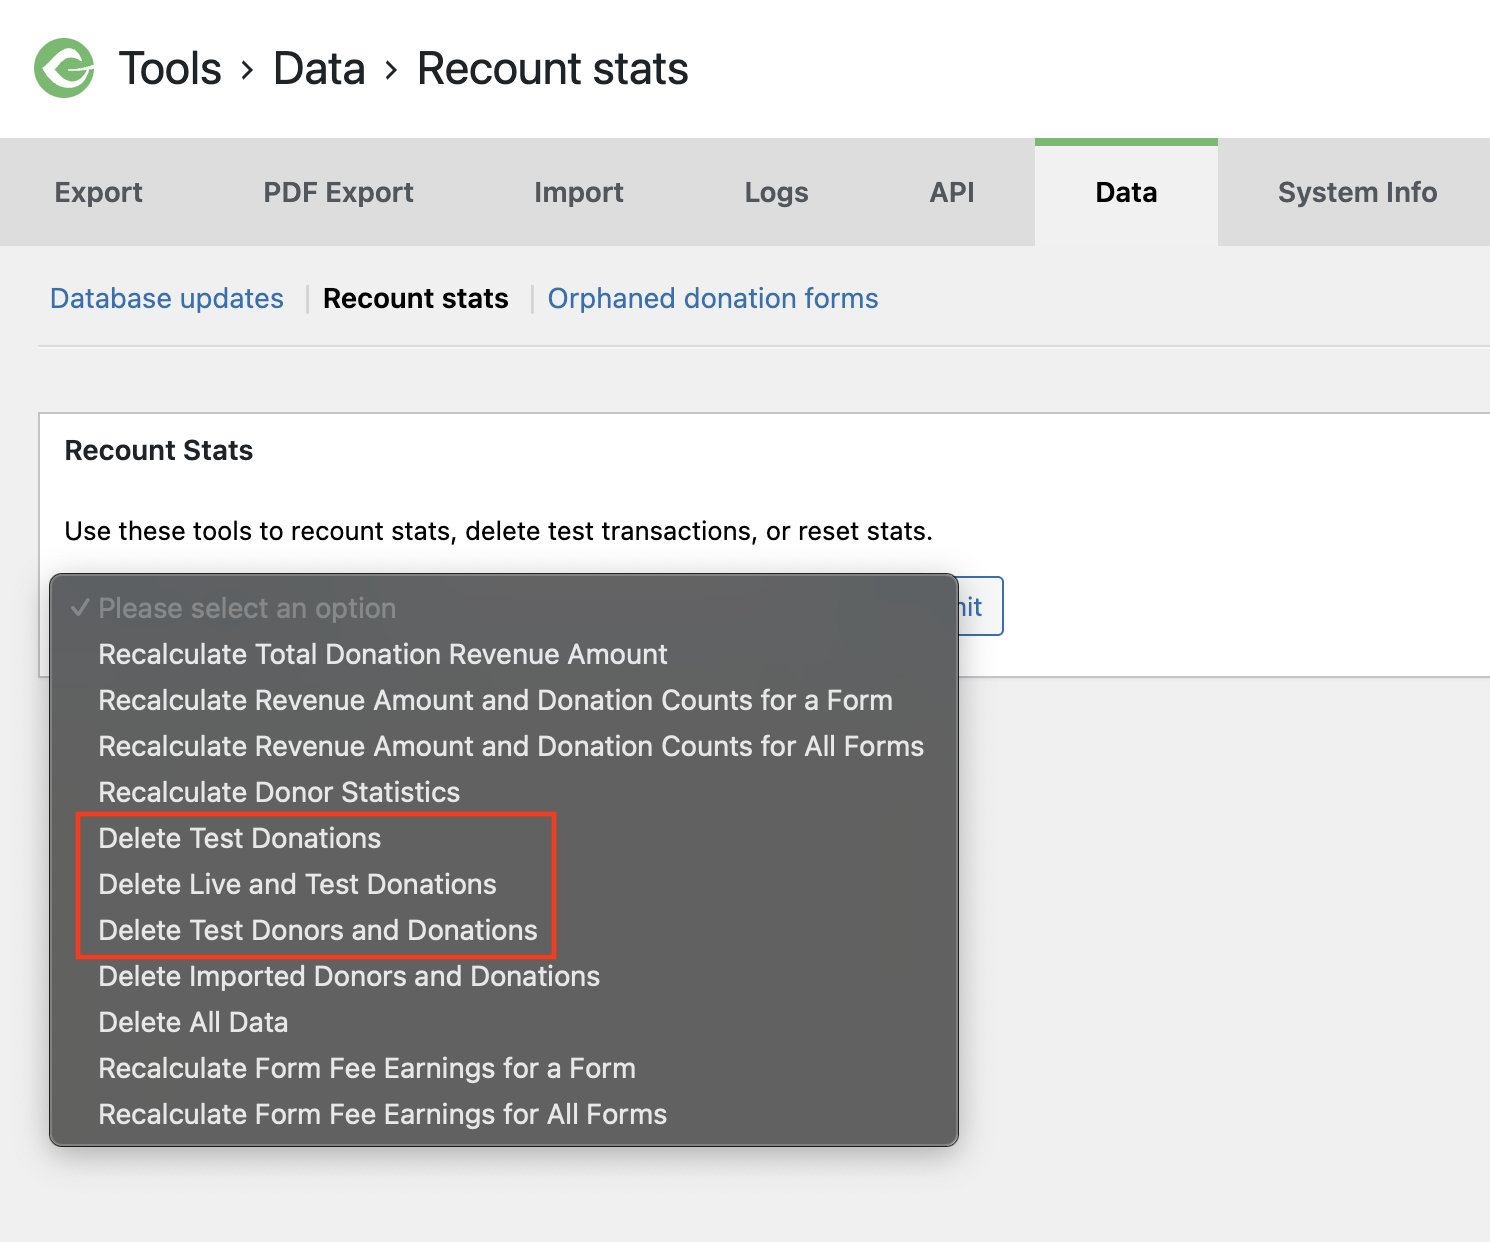
- Go to GiveWP > Tools.
- Click the Data tab.
- Click Recount stats
- In the dropdown menu, you have a few options to choose from:
- Delete Test Donations
- Delete Live and Test Donations
- Delete Test Donors and Donations
This action will remove all test/live donations (and test donors if the second option was selected), along with any related logs and entries—giving you a clean slate before going live.
A Note on Local and Staging Environments
Testing your donation forms in a live production environment isn’t ideal—especially when making changes to gateways or payment settings.
Here are two safer ways to test before going live:
- Use a staging environment. Many web hosts offer a one-click staging setup, which lets you test changes without affecting your live site.
- Test locally with LocalWP. It’s a free, beginner-friendly tool for building and testing WordPress sites on your own computer.
Note: Some gateway features—like webhooks and recurring renewals—still require a live connection. For those, use a staging site instead of local testing.